Path: Frontline Apps > Cargo (also accessible from the Dashboard quick link "Book a Cargo")
This is the main cargo booking form used by agents to create new cargo shipments. the page features an animated ship scene with a live clock at the top. The booking process is divided into seven steps.
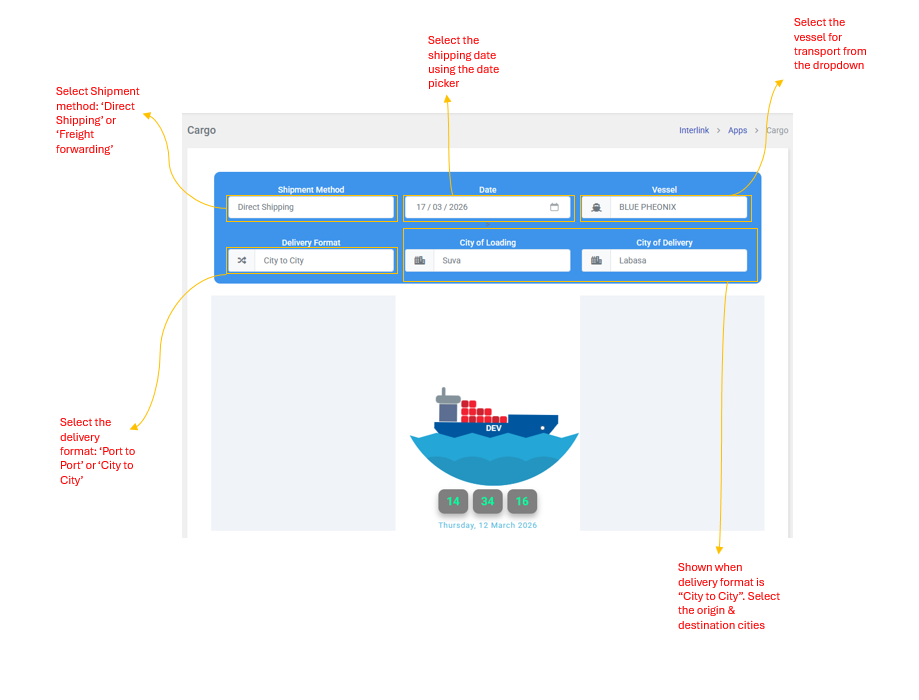
Step 1: Ticket Details
Fill in the basic shipment information:
| Field | Description |
| Shipment Method | Choose Direct Shipping (standard shipment) or Freight Forwarding (third-party forwarding) |
| Date | Select the shipping date using the date picker |
| Vessel | Select the vessel for transport from the dropdown (e.g., Northern Star, Ohana) |
| Delivery Format | Port to Port or City to City. This determines which location fields appear below. |
| Port of Loading / Delivery | Shown when Delivery Format is "Port to Port". Select the origin and destination ports |
| City of Loading / Delivery | Shown when Delivery Format is "City to City". Select the origin and destination cities |
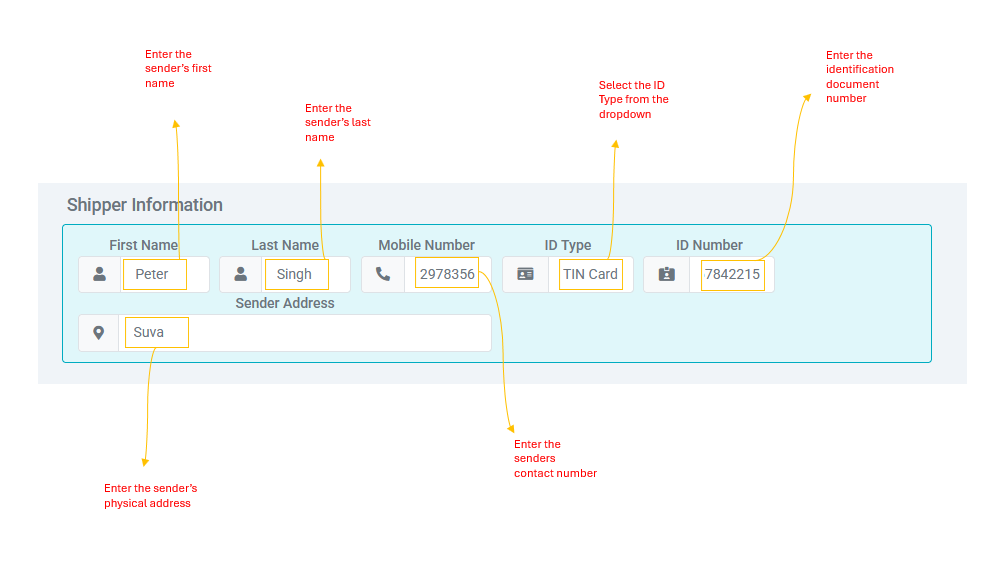
Step 2: Shipper Information (Sender)
Enter the sender's details
| Field | Description |
| First Name | Senders first name |
| Last Name | Sender's last name |
| Mobile Number | Sender's contact number |
| ID Type | Select from: Password, Driver's License, TIN Card, Voter ID, Student ID, or Vaccination Card |
| ID Number | The Identification document number |
| Sender Address | The sender's physical address |
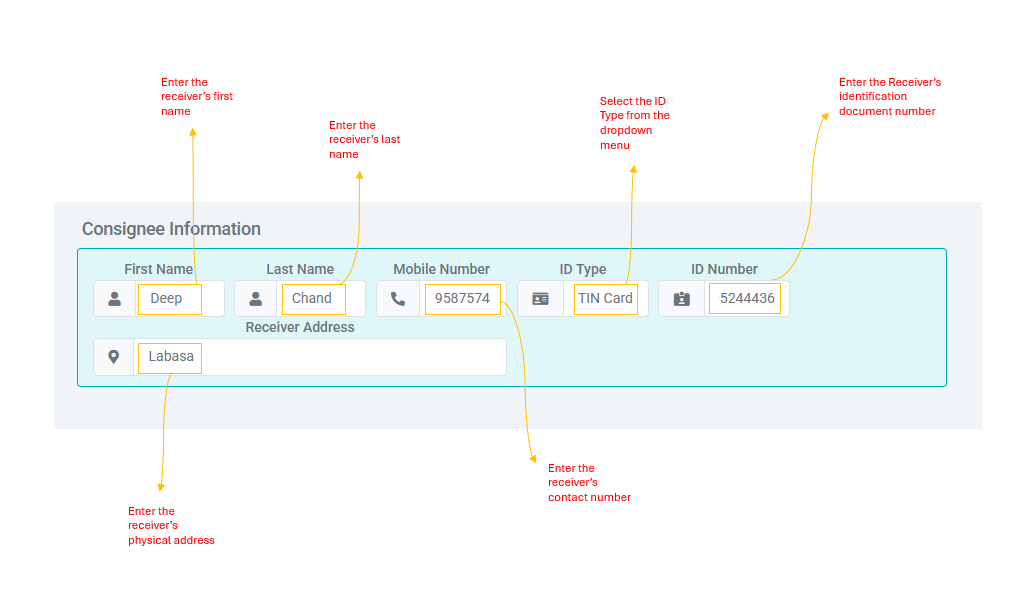
Step 3: Consignee Information (Receiver)
Enter the receiver's details. The fields are the same as the Shipper section: First Name, Last Name, Mobile Number, ID Type, ID Number, and Receiver Address.
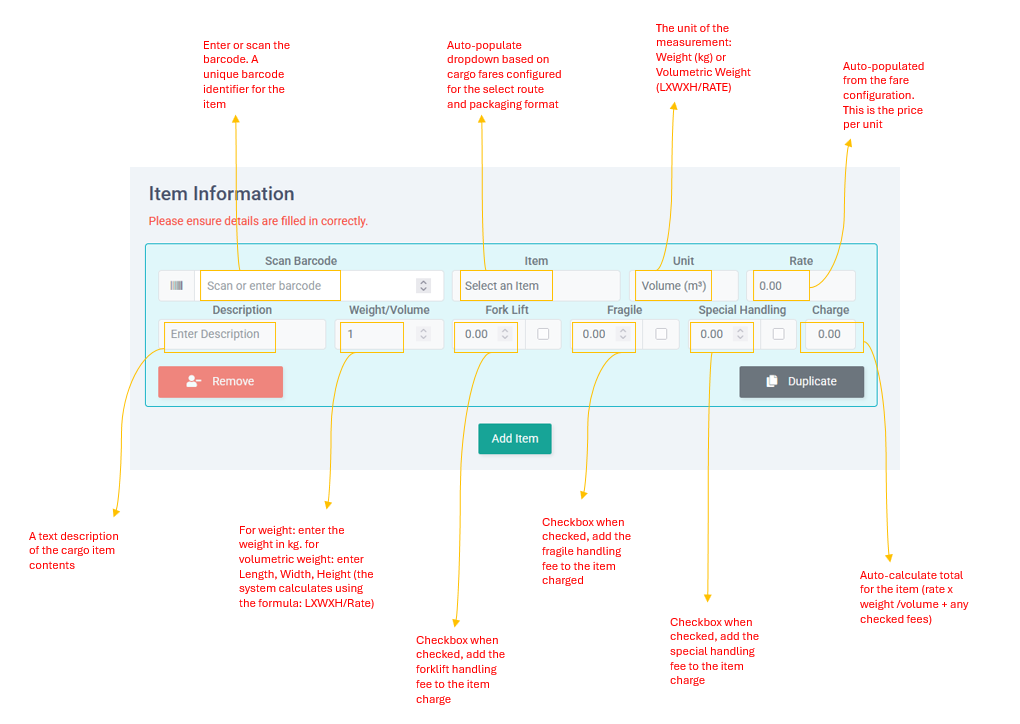
Step 4: Item Information
Add one or more cargo items to the shipment. Click + to add additional items. Each item has:
| Field | Description |
| Barcode | Unique barcode identifier for the item. Enter or scan the barcode. |
| Item | Auto-populated dropdown based on cargo fares configured for the select route and packaging format |
| Unit | The unit of measurement: Weight (kg) or Volumetric Weight (L X W X H / RATE) |
| Rate | Auto-populated from the fare configuration. This is the Price per unit. |
| Description | A text description of the cargo item contents. |
| Weight/ Volume | For weight: enter the weight in kg. For Volumetric Weight: enter Length, Width, Height (the system calculates using the formula: L X W X H / Rate) |
| Forklift | Checkbox -- when checked, adds the forklift handling fee to the item charge |
| Fragile | Checkbox -- when checked, adds the fragile handling fee to the item charge |
| Special Handling | Checkbox -- when checked, adds the special handling fee to the item charge |
| Charge | Auto-calculate total for the item (rate x weight/volume + any checked fees) |
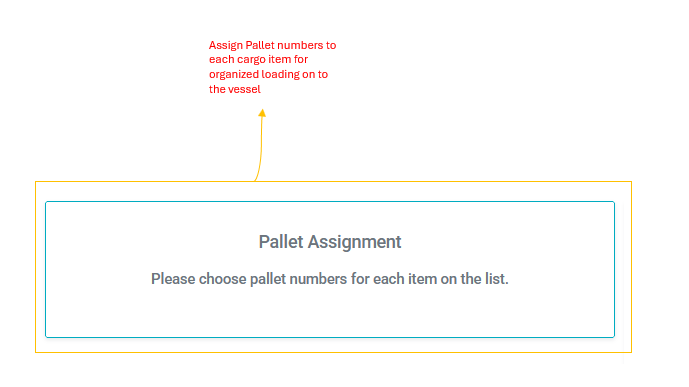
Step 5: Pallet Assignment
Assign pallet numbers to each cargo item for organized loading onto the vessel. Each item can be assigned to a specific pallet to ensure efficient handling and delivery.
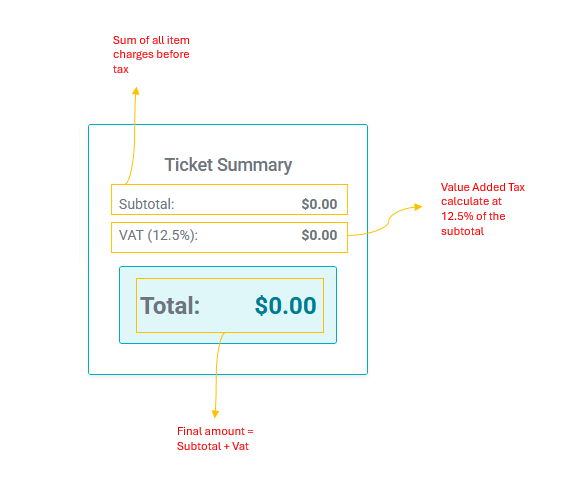
Step 6: Ticket Summary
Display the financial breakdown of the shipment:
| Field | Description |
| Subtotal | Sum of all item charges before tax |
| VAT (12.5%) | Value Added Tax calculated at 12.5% of the subtotal |
| Total | Final amount = Subtotal + Vat |
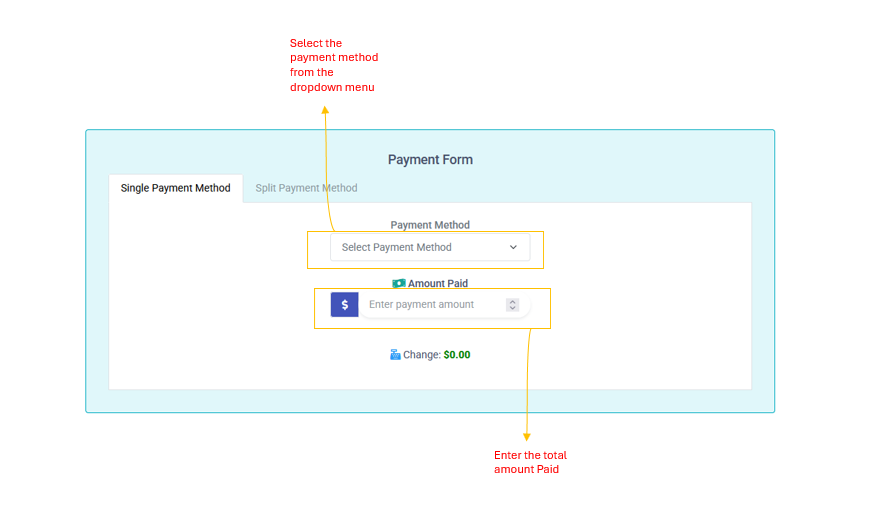
Step 7: Payment
Select a single payment method from the available options. some methods require additional fields:
| Method | Additional Fields Required |
| Online | No additional fields required |
| Freight Forward | No additional fields required (payment handled by the freight forwarder) |
| Cash | No additional fields required |
| Cheque | Cheque Number, Cheque Date, Account Number |
| Account | Account Name, LPO (Local Purchase Order) Number |
| M-PAiSA | Sender Number, Transaction ID |
| Direct Deposit | Remitter Name, Amount, Deposit Date |
| EFTPOS | No additional fields required |
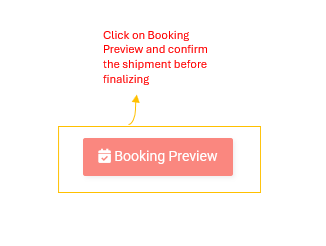
After completing all seven steps, click Booking Preview to review and confirm the shipment before finalizing.